
Activation & Troubleshooting
Transfer Windows License to New PC
Nov
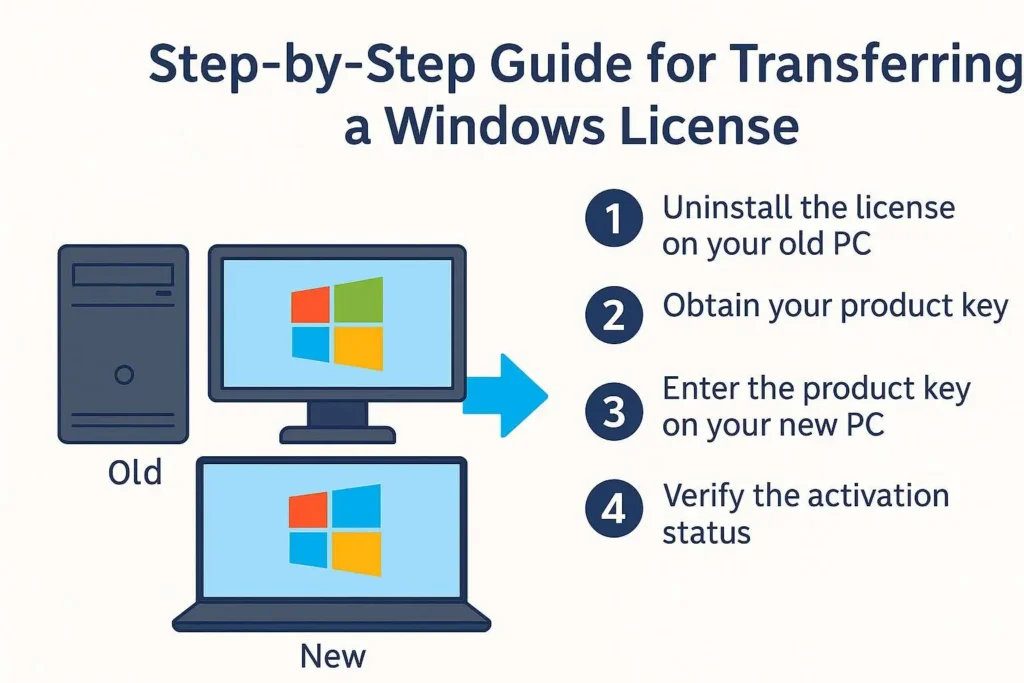
If you’re upgrading your hardware or moving to a new computer, you might want to transfer your Windows license instead of buying a new one. The good news is that many Windows licenses, especially Retail keys, can be moved from one PC to another as long as they are only used on one device at a time. In this guide, you’ll learn how to check your license type, deactivate it on your old PC, and activate it on your new machine.
1. Check if your Windows license can be transferred
Before you try to transfer your Windows license, you need to confirm that your key is eligible. Not all license types can be moved between devices. In general, Retail licenses are transferable, while OEM licenses are tied to the original hardware.
Retail license
- Purchased as a digital code or boxed product from Microsoft or an authorized reseller.
- Can usually be transferred to a new PC, as long as it is active on only one device at any time.
- Best option if you upgrade or replace PCs regularly.
OEM license
- Comes preinstalled on brand-name laptops or desktops.
- Linked to the original motherboard and not intended to be transferred.
- Even if you extract the key, activation on a new PC may fail or violate the license terms.
How to check your license channel
You can use the built-in slmgr tool to see what type of Windows license you have before you transfer your Windows license to a new PC.
- Right-click the Start button and choose Windows Terminal (Admin) or Command Prompt (Admin).
- Type the following command and press Enter:
slmgr /dli
A window will open showing your license information. Look for the field named Product Key Channel. If it says Retail, you can normally transfer your Windows license. If it says OEM, it is meant to stay on that device.
For more technical details, you can also review Microsoft’s licensing documentation here: Microsoft Licensing Documentation.
2. Deactivate Windows on your old PC
Once you have confirmed that you can transfer your Windows license, the next step is to remove the key from your old computer. This prevents conflicts and keeps you within the license terms.
- Open an elevated Command Prompt (run as Administrator).
- Uninstall the product key:
slmgr /upk - Then clear the key from the registry:
slmgr /cpky
After these commands, your old PC will no longer use that Windows key. The system may still run, but you will eventually see activation messages because the license has been removed.
3. Install Windows on your new PC
Now it’s time to prepare your new machine. You should install the same edition that matches your license (for example, Windows 10 Pro or Windows 11 Pro).
- Download the official installation media from Microsoft:
- Create a bootable USB drive using the Media Creation Tool or a tool like Rufus.
- Boot your new PC from the USB and follow the on-screen instructions.
- When asked for a product key, you can click “I don’t have a product key” and continue the installation. You will activate it after setup.
4. Activate Windows on your new PC
Once Windows is installed, you can now transfer your Windows license by activating it on the new PC.
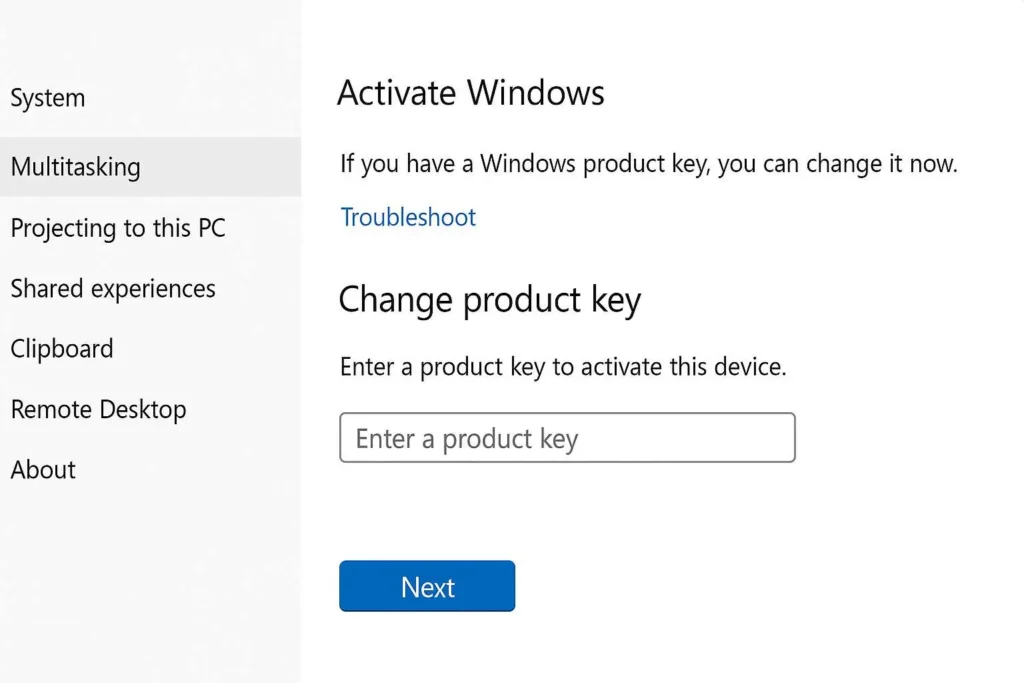
Activate from the Settings app
- Open Settings.
- Go to:
- System → Activation (Windows 11)
- Update & Security → Activation (Windows 10)
- Click Change product key.
- Enter your 25-character product key and click Next.
If the key is valid and no longer in use on another machine, Windows should activate successfully on your new PC.
Activate using command line
You can also install and activate the key through Command Prompt:
- Open Command Prompt (Admin).
- Install your key:
slmgr /ipk XXXXX-XXXXX-XXXXX-XXXXX-XXXXX - Then activate:
slmgr /ato
If you see an error code, you can search it on Microsoft’s activation help page here: Windows Activation Help.
5. Link your Windows license to your Microsoft account
To make future moves easier, it’s a good idea to link your digital license to your Microsoft account after you transfer your Windows license to the new device.
- Go to Settings → Accounts → Your info.
- Sign in with your Microsoft account if you’re not signed in already.
- Then go to Settings → System → Activation and check if it says:
“Windows is activated with a digital license linked to your Microsoft account.”
This makes it easier to reactivate Windows if you change hardware again later.
6. Use the Activation Troubleshooter if needed
Sometimes, even a valid key may not activate automatically after you move to new hardware. In that case, use the Activation Troubleshooter.
- Open Settings → System → Activation.
- If you see a problem, click Troubleshoot.
- Select “I changed hardware on this device recently”.
- Sign in with your Microsoft account and choose your current device from the list.
- Confirm and try activation again.
7. Tips and limitations when you transfer a Windows license
- Retail keys can usually be moved between PCs, but only one active installation is allowed at a time.
- OEM keys are tied to the original motherboard and are not meant to be transferred.
- If you reinstall or upgrade often, keep your key stored in a safe place.
- Linking your license to a Microsoft account makes troubleshooting and reactivation much easier.
Need a genuine Windows license for your new PC?
If your old key cannot be transferred or you want a fresh start, you can activate your new PC with a genuine license key. A valid license ensures stable activation and full security updates from Microsoft.
- 👉 Windows 11 Pro Lifetime License Key – Nallexshop
- 👉 Windows 10 Pro Lifetime License Key – Nallexshop
For more detailed checks on whether your license is genuine before you transfer it, you can also read our guide here: How to Check If Your Windows License Is Genuine.